Moving My Blog to 11ty - Part 1 (Initial deployment)
This is part of a series on moving this blog from GitHub Pages (which uses Jekyll) to 11ty. You can read the overview of this project here.
Act 1, Scene 1. The Foundation
This entry will cover creating the 11ty site and connecting it to Cloudflare Pages so that it’s viewable publicly. This will consist of creating the GitHub repository, syncing that locally, installing 11ty, then creating the Cloudflare Pages config.
Create a GitHub repository and syncing locally
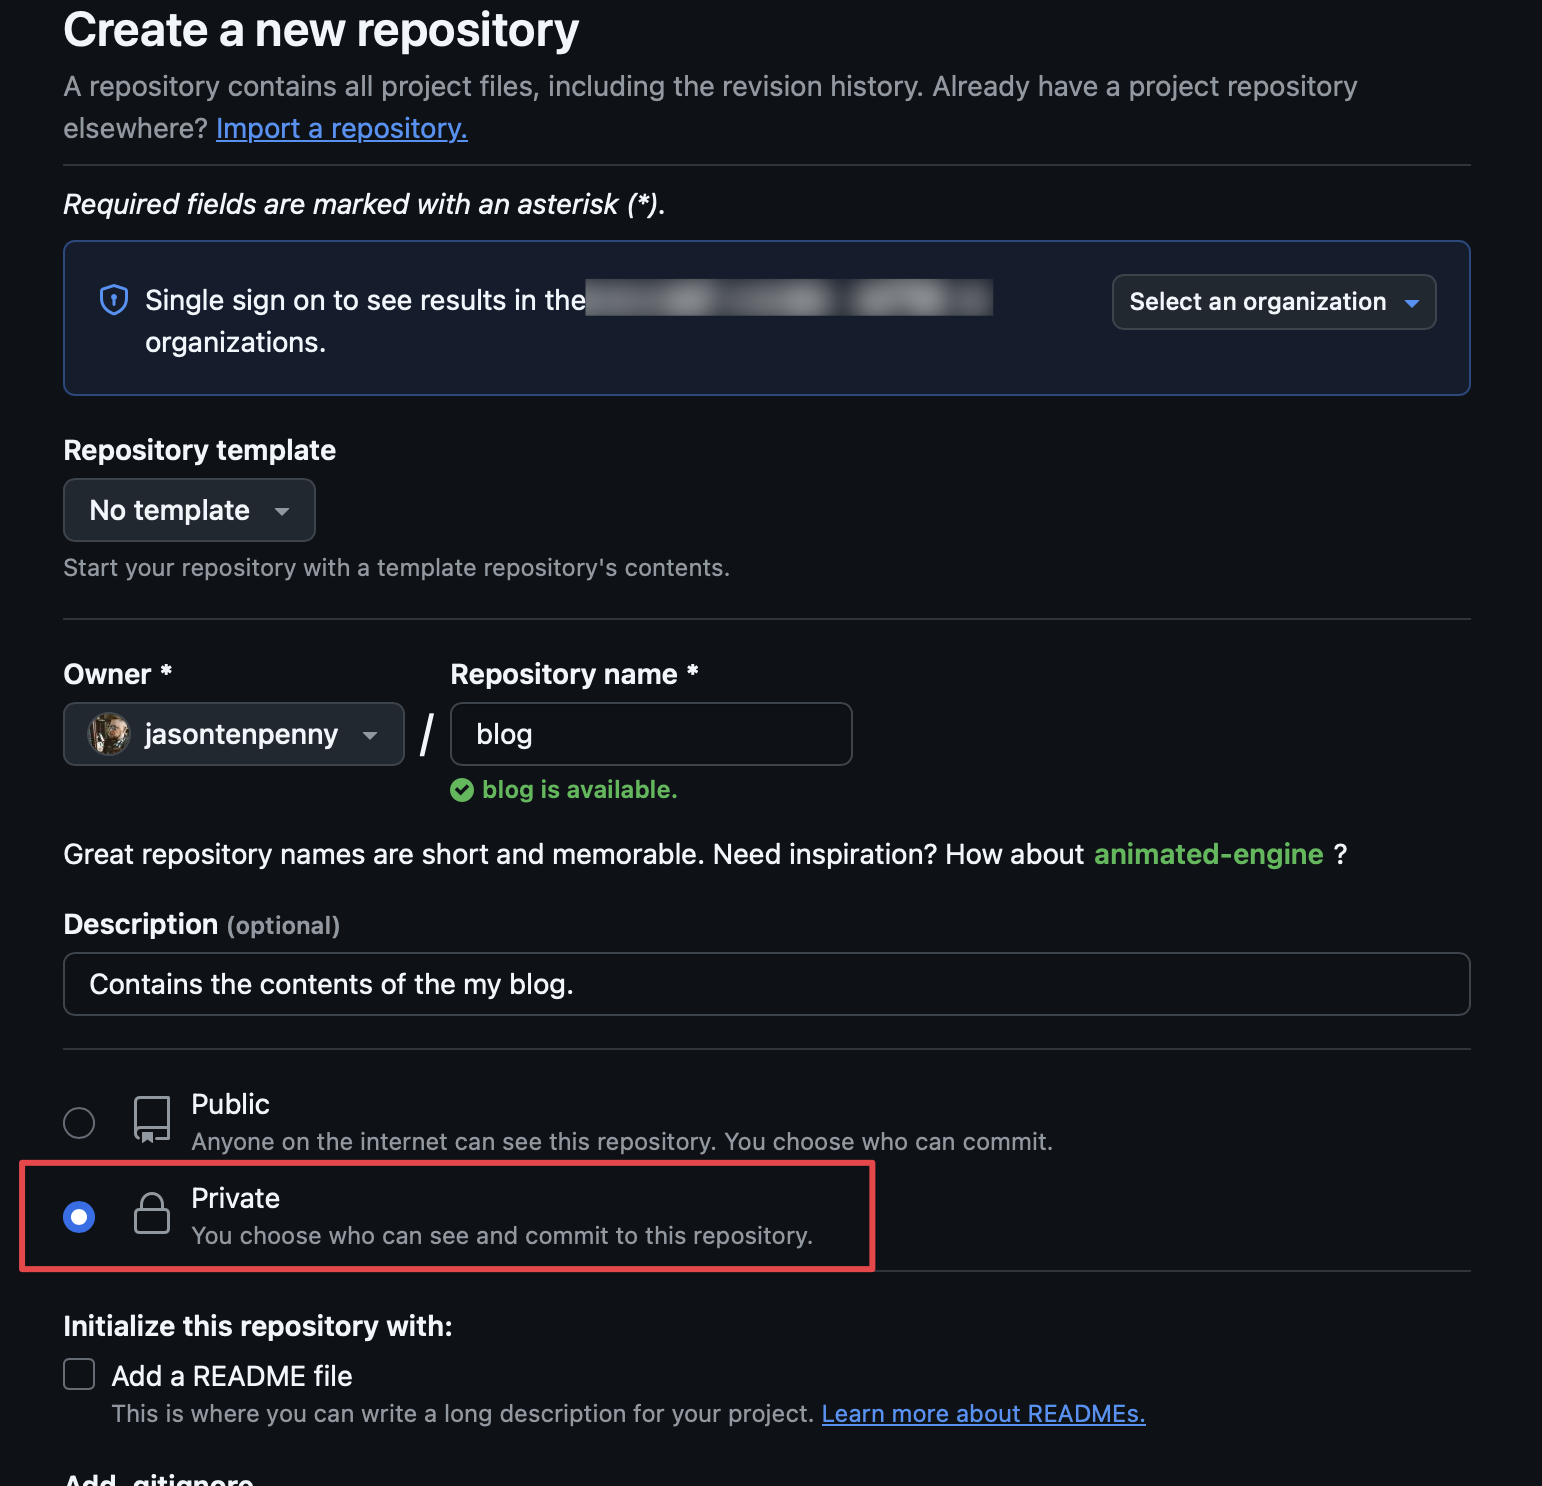
A full explanation of how to use GitHub is not something I’m doing here, so I’m going to assume you know how to create a repository. What I’ll specifically mention, though, is that in keeping with the stated goals of my project, I’m setting this as a Private repository. I went ahead and let it create a README file so that there was something in the repository.
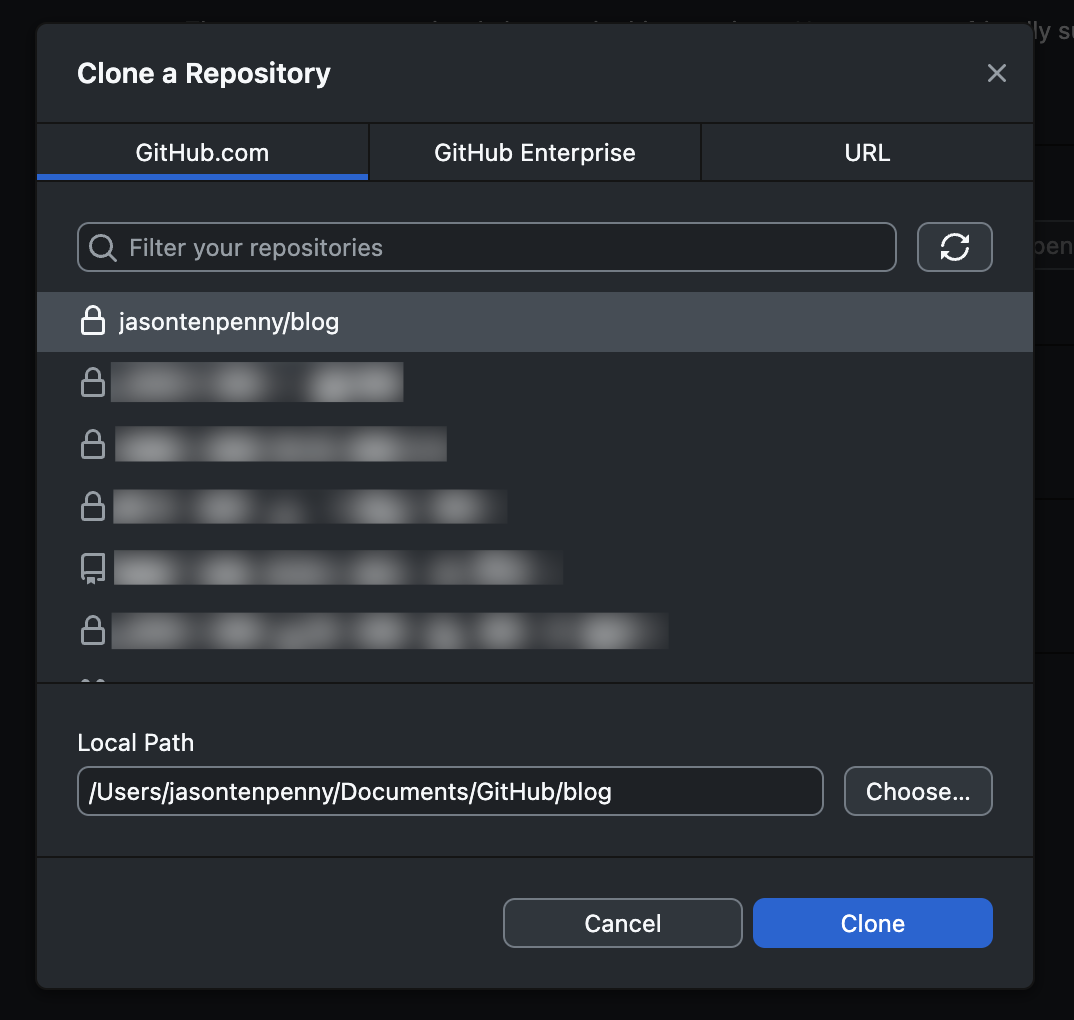
Once the repository exists, then I’ll clone it in GitHub desktop so I can more easily edit the files locally.
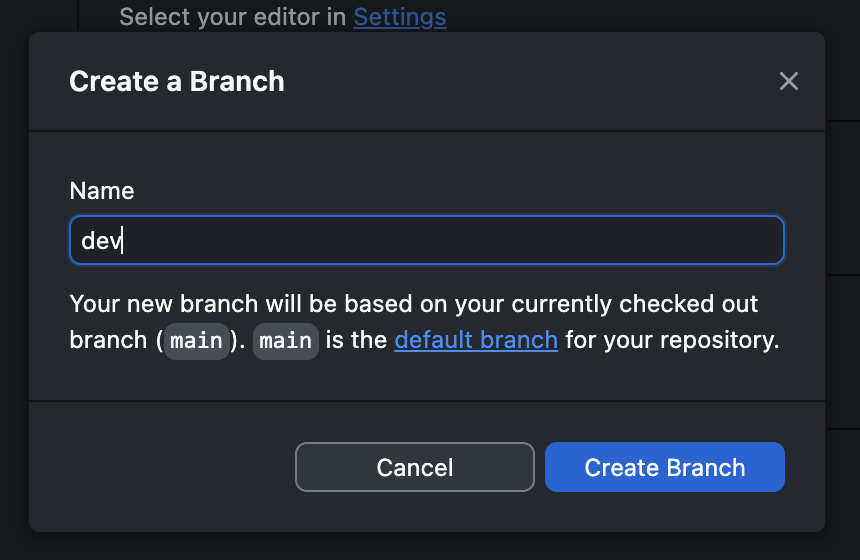
Now the next requirement I had in my project was that I be able to have development and production versions of the blog. So before going any further, I want to set up a dev branch in this repository. So I’ll do that from the Desktop app and then publish the branch to GitHub.
We should be able to open the folder in Terminal now so that we can deploy 11ty. Before deploying, though, we want to confirm that we’re operating in the dev branch. So we can check that with the following command.
1
git branch

If the dev branch has the asterisk next to it, then we’re in good shape. If it’s currently set to main, then we need to switch branches using the following command:
1
git checkout dev
This should get us to the dev branch.
Install 11ty
11ty’s documentation has a good walkthrough on how to do the initial deployment of 11ty. I’m going to simplify it here, though. You will need to follow their first paragrph about getting Node.js set up on your machine if you don’t already. I already had it configured from some previous experiments I had run.
But for the process of installing 11ty itself, we have our project directory in the form of the GitHub repository directory. So we don’t need to create another folder.
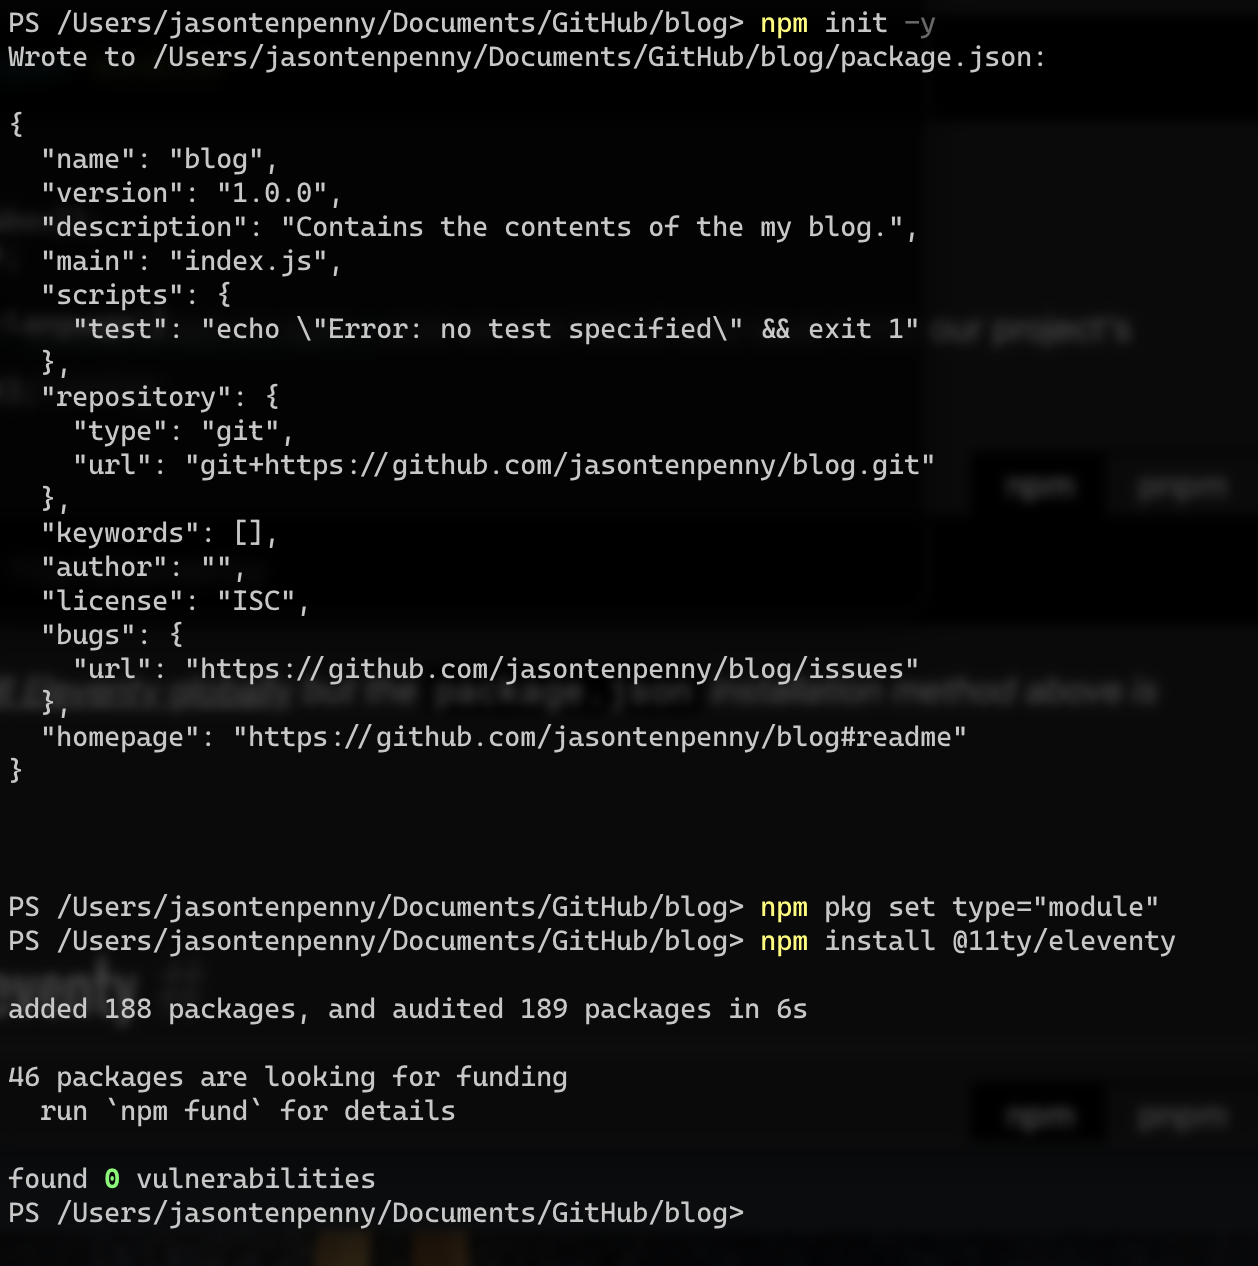
We’ll skip to step 2 and run the command to create the install package. I am going to use ESM since it’s apparently a newer and more secure method. So I’ll type the following 3 commands to deploy and install 11ty:
1
2
3
npm init -y
npm pkg set type="module"
npm install @11ty/eleventy
Now we can run 11ty locally, which will spin up a local web server. For the moment, we’re going to set it up in a hot reload configuration, so that as we make changes, it automatically republishes locally.
1
npx @11ty/eleventy --serve
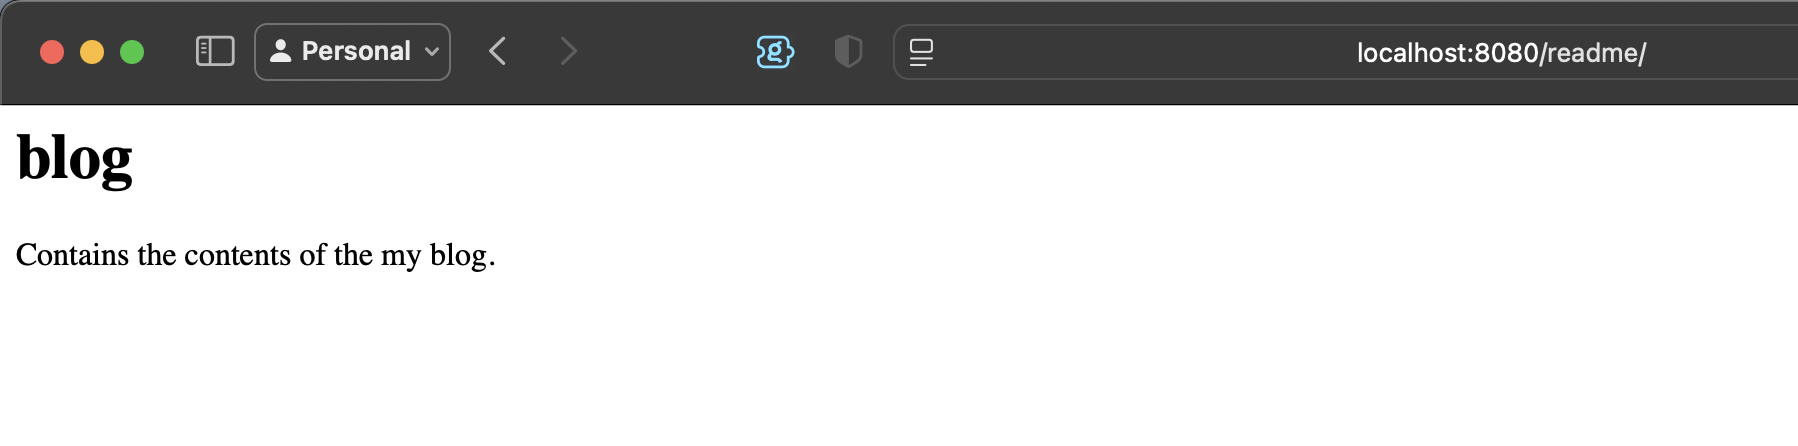
You should now be able to view the README page that was created earlier by browsing to localhost:[port]/readme, where [port] is the port number displayed in the command line. There’s nothing currently at the root of the site because we don’t have an index.html or index.md page yet.
For the sake of completeness, we can also create an index.html file with some super generic HTML, something like the following. I will switch into Visual Studio Code to create this file, since that’s where I will be doing most everything going forward.
1
2
3
4
5
6
7
8
9
<html>
    <head>
        <title>Home</title>
    </head>
    <body>
        <h1>Hello World</h1>
        <p>Hello and welcome to my new website</p>
    </body>
</html>
Exclude unnecessary files from GitHub
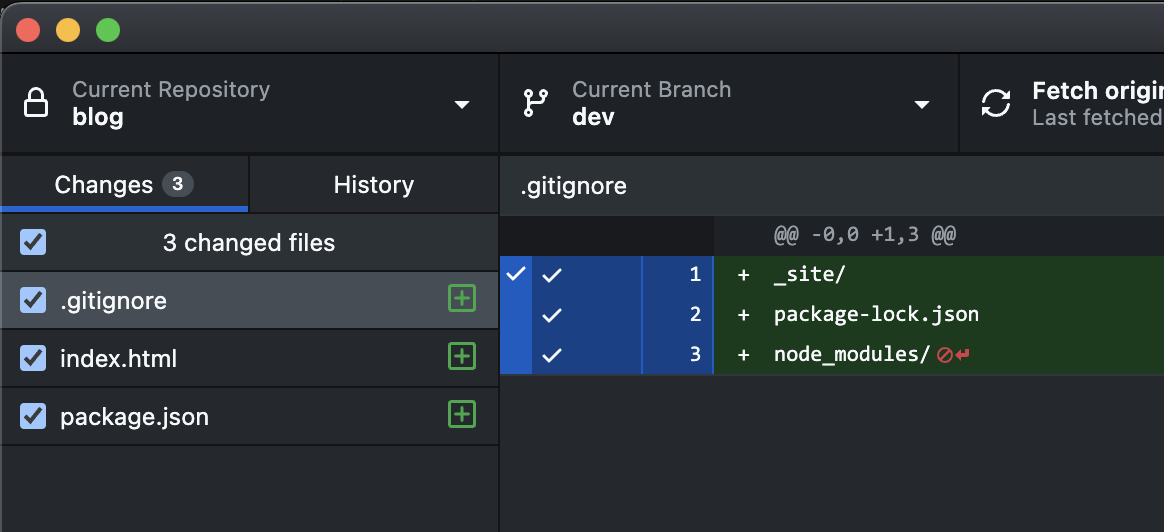
You’ll notice that in your blog folder now are some additional files, none of which are technically needed in your GitHub repository. That’s because these are only used by the active 11ty instance. When we deploy this using Cloudflare Pages later, it will create its own copy of all this. So in order to keep the GitHub repository clean, we can prevent these items from being uploaded in the first place. This is done by creating a file called .gitignore and adding file paths to it. The period in front of the filename results in it being a hidden file, at least in macOS where I’m working, so I’m going to switch to Visual Studio Code for this (which is where I’ll do most of my development work anyway).
The .gitignore file should be at the root of the repository, and below are the items we want to add.
- _site/
- package-lock.json
- node_modules/

After creating and saving this file, you’ll notice that the number of changes waiting to be commited to the repository drop to only a couple.
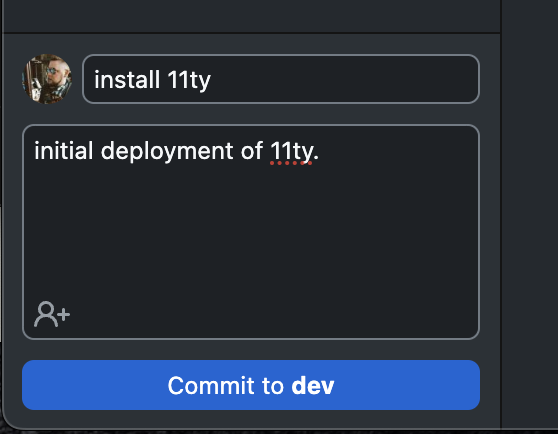
We can go ahead and publish these changes in a commit to the dev branch.
Technically speaking, if you never intended to run the local 11ty server, you could probably skip most of these steps and just figure out what text is needed in the package.json file and upload that and an index.html page to your repository. But the method we did gives us the option to run locally.
Configure Cloudflare Pages to publish the site
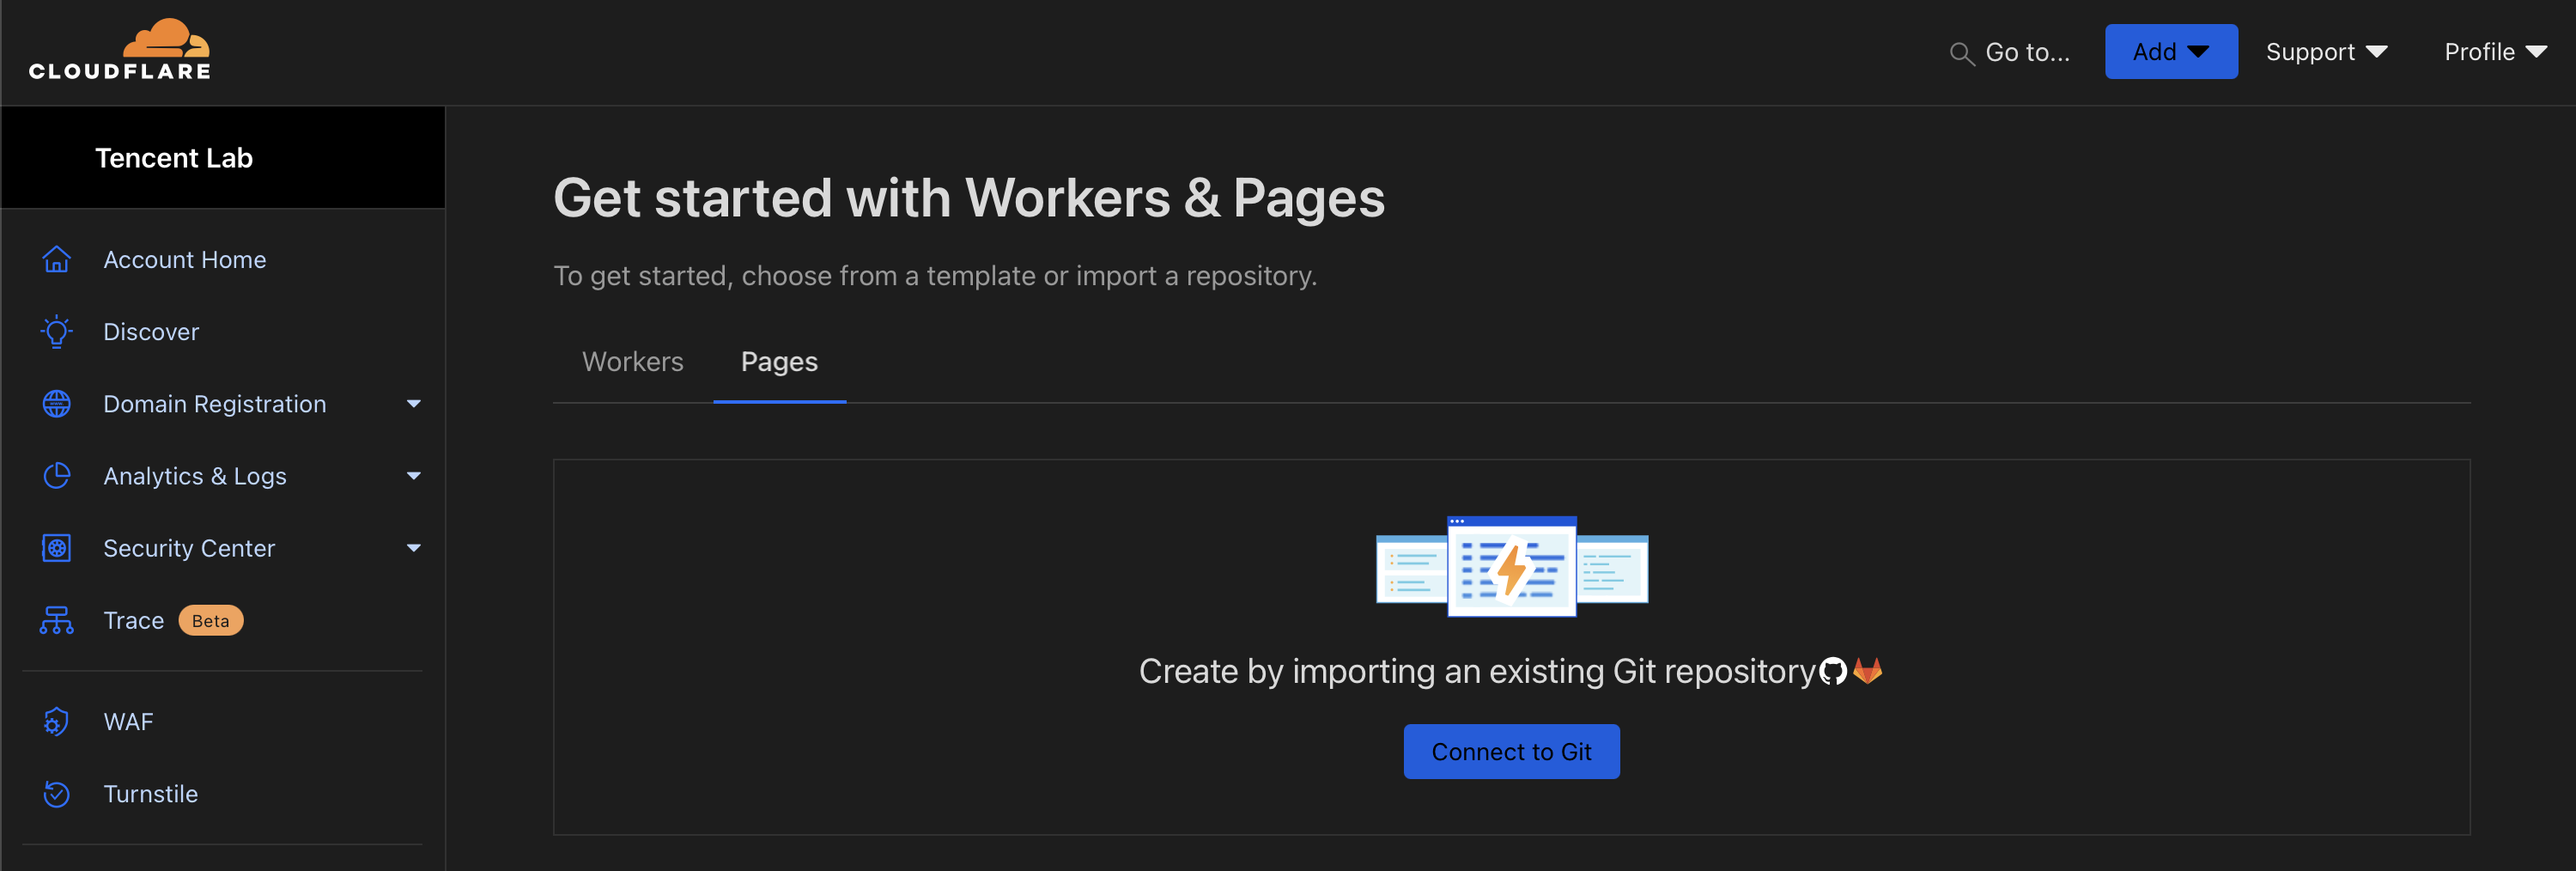
Now we’re ready to configure Cloudflare Pages to publish the dev branch. I’m going to assume you already have a Cloudflare account.
We’re going to create a new Pages item by connecting to Git.
You might have to go through the process of allowing the Cloudflare Pages app access to your GitHub account. You can either choose to allow access to all repositories, or you can specify certain repositories to allow. I already had Cloudflare Pages allowed, so I just had to add the new repository to the permissions.
Select the appropriate repository.

Now we can give the project a name. We want to go ahead and specify the main branch under Production branch, we’ll set up the Dev branch later. We also need to specify Eleventy as the framework preset. This should prefill the Build command and Build output directory fields, and we can accept those defaults.
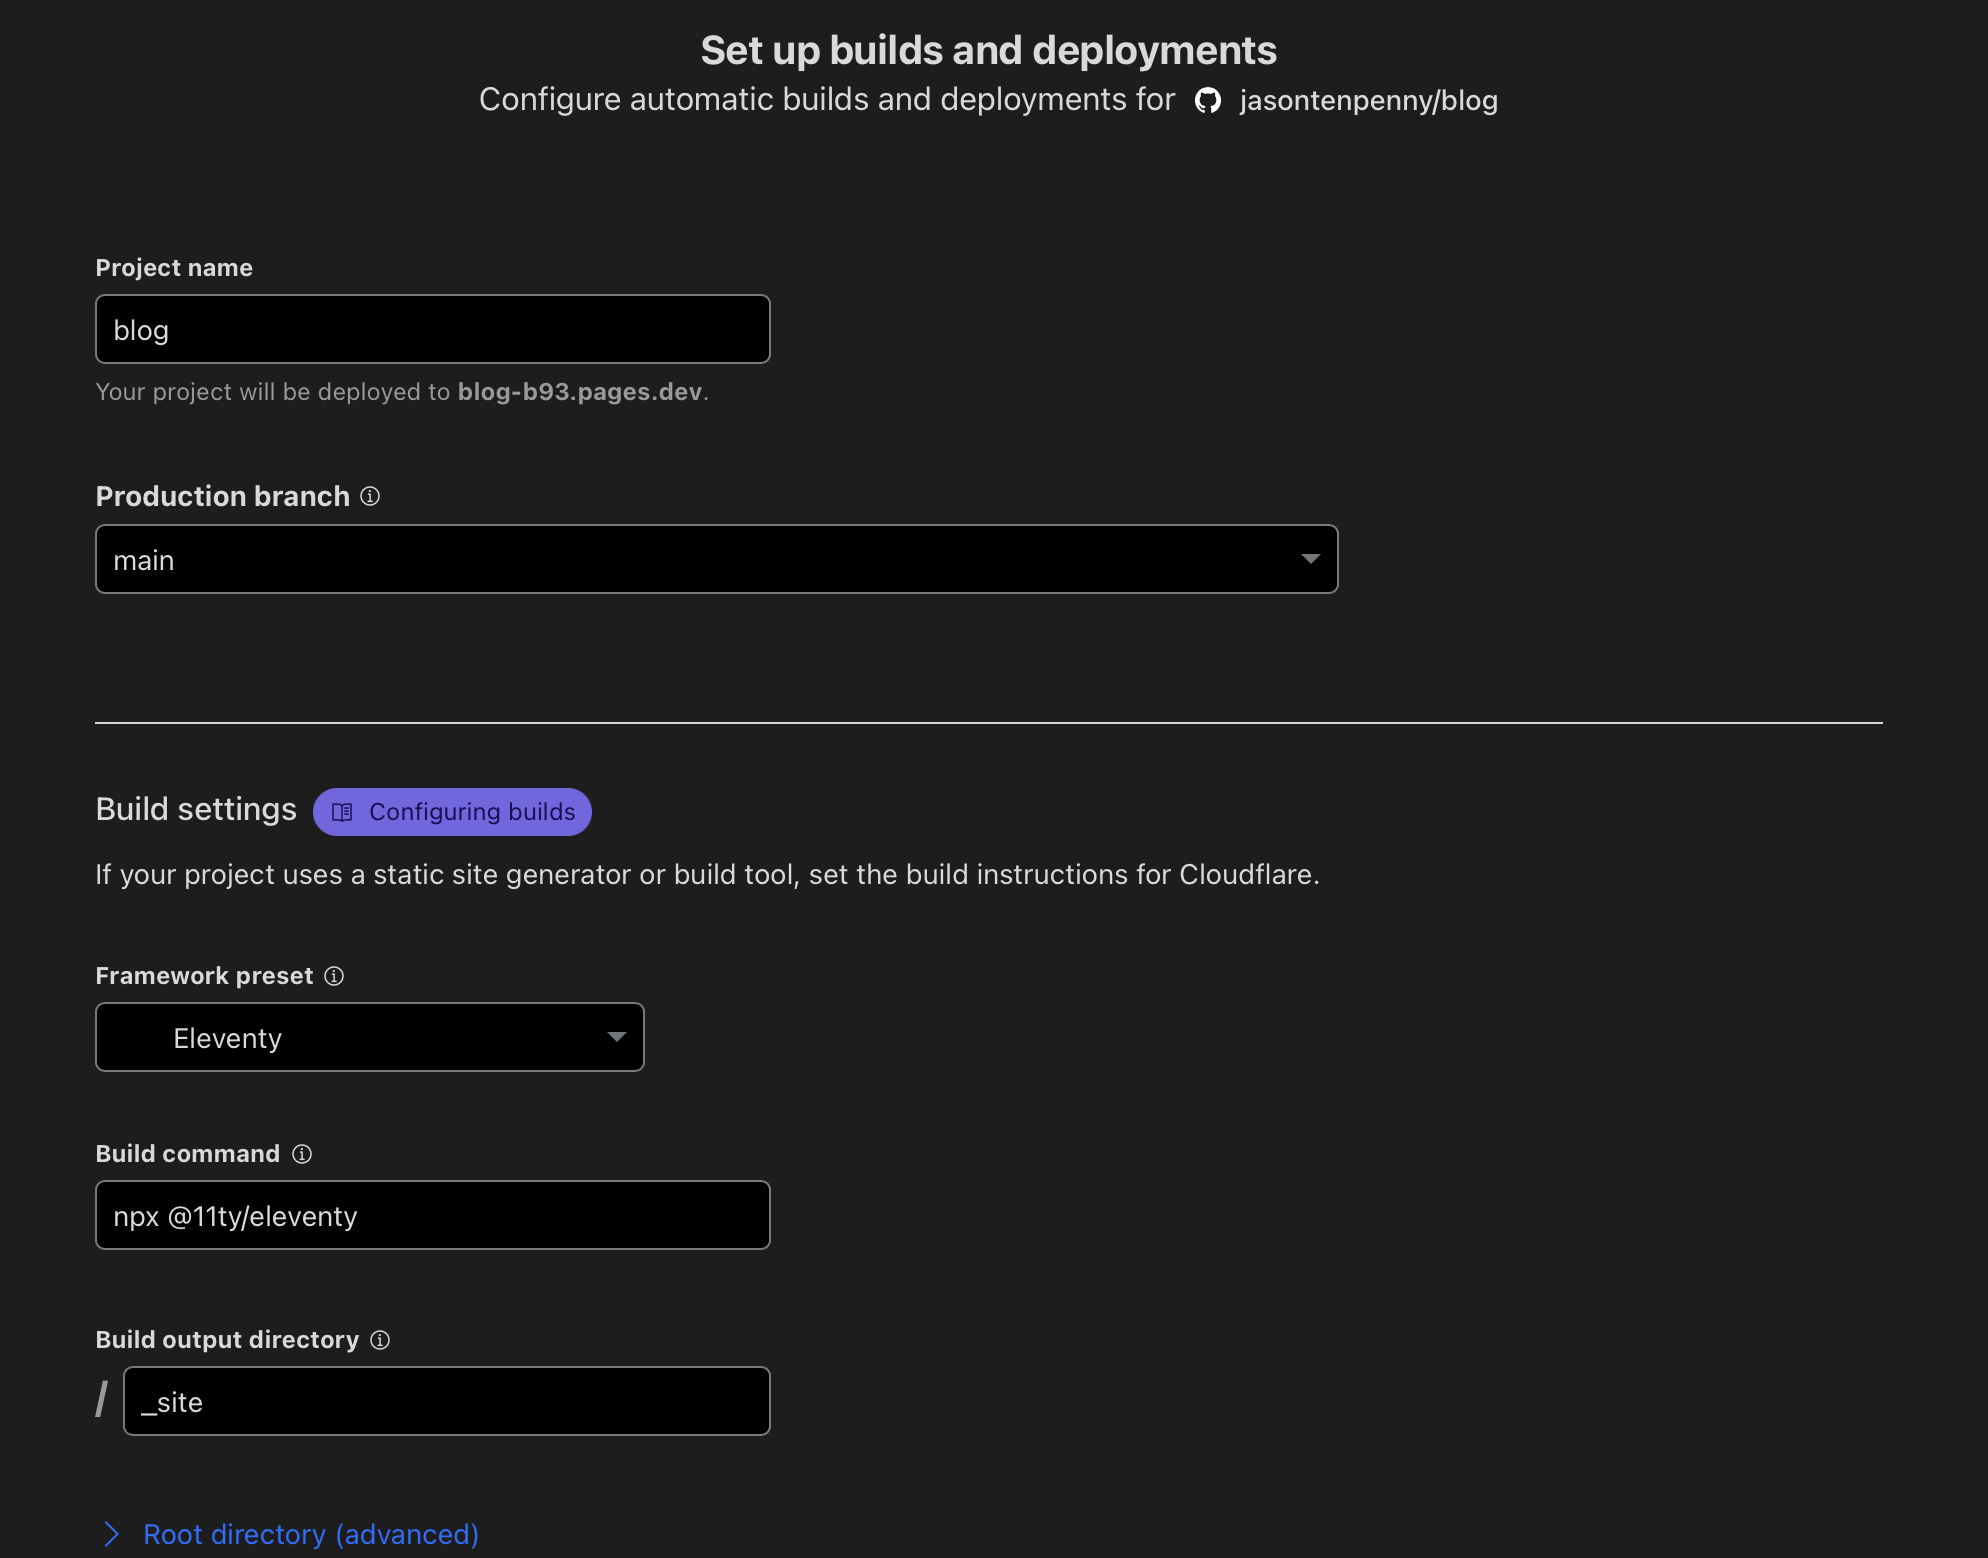
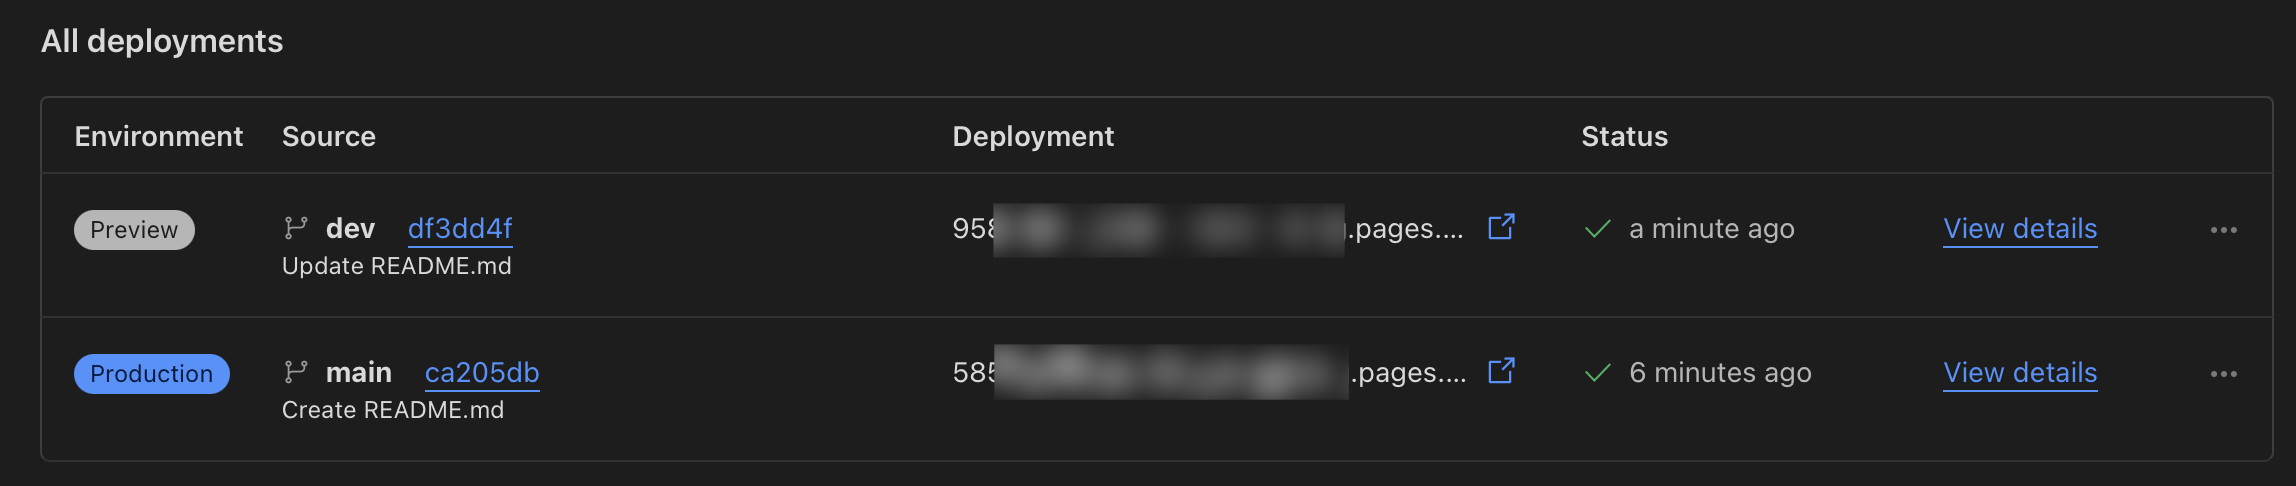
After clicking Save and Deploy, it will perform an initial build of your site. You won’t be able to view it, because you don’t have any content in the main branch yet. But now, subsequent commits to the dev branch will create a preview environment that can be viewed separately from the production environment.

Wrap-up
And there we have it, the most bare bones website possible, but one that has its host files living in GitHub, and is automatically published by Cloudflare any time there’s a commit written to the repository branches.
An optional step you could take is to rewrite the index.html page to say “Site under construction” or something, and then push that to the main branch. Then you’d have a production build placeholder that’s accessible to people while you continue working on the rest of the site using the dev branch and the preview builds. I’m not going to do this step since I have this blog currently accessible through other means.